Pottery is an ancient and magical art form with a history that dates back thousands of years. Over time, pottery techniques have continuously evolved and improved, giving rise to the diverse styles and methods we see today. For many pottery enthusiasts, understanding the basics and mastering some fundamental techniques are their primary goals. This article elaborates on the basics of pottery, helping beginners get started and experience the joy of pottery.
I. Preparation Stage


Before starting pottery, it is essential to prepare the necessary materials and tools. Basic materials include clay, glaze, and various decorative materials. In terms of tools, you will need a potter's wheel, shaping tools, carving tools, brushes, and more. These tools will facilitate your pottery and enhance the quality of your works.
Material Selection: Choosing the right type of clay is crucial. There are many kinds of clay available on the market, such as red clay, white clay, and porcelain, each with different characteristics and firing properties. Beginners can start with more user-friendly clay for practice.
Tool Preparation: Common tools include a wheel (for throwing), various knives (for cutting and trimming), and a damp sponge (for smoothing surfaces). Ensure that all tools are clean and in good working condition before use to ensure a smooth creation process.
Work Environment: Choose a spacious and clean workspace, preferably with a sturdy workbench. Keeping the work area tidy not only aids in operation but also prevents accidents.
II. Shaping Stage

Shaping is the most critical step in pottery. Common shaping methods include hand-building, wheel-throwing, and coil-building. Each method has its unique advantages and is suitable for different types of work, depending on personal habits and design goals.
Hand-Building: This is the most primitive method of pottery shaping, requiring no additional tools but your hands. Hand-building is suitable for making small, simple-shaped objects, such as bowls and plates. To start, take a piece of moist clay and shape it with your hands. This method helps develop manual skills but requires a higher level of control over the shape.
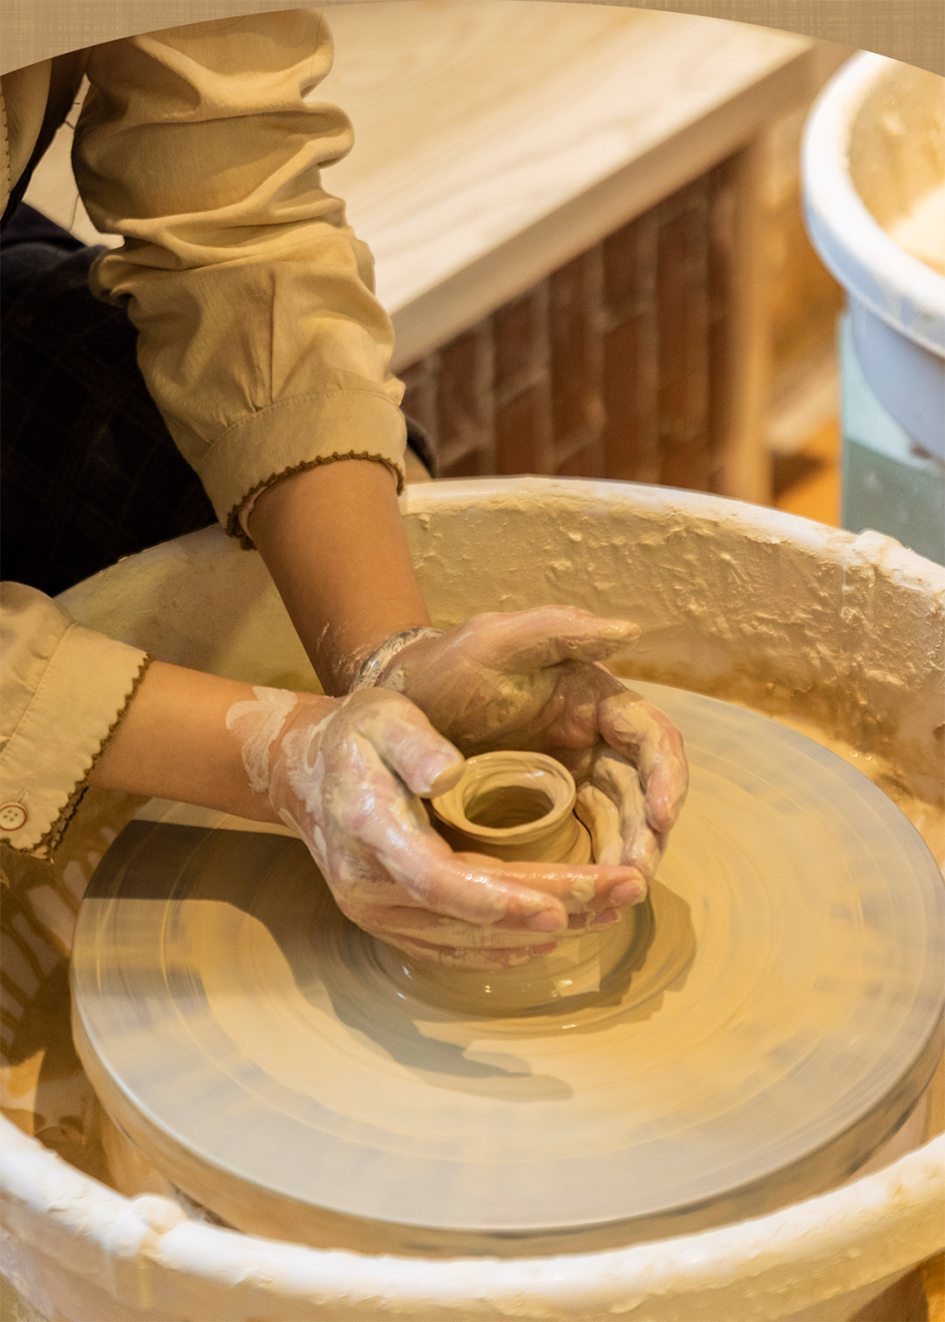
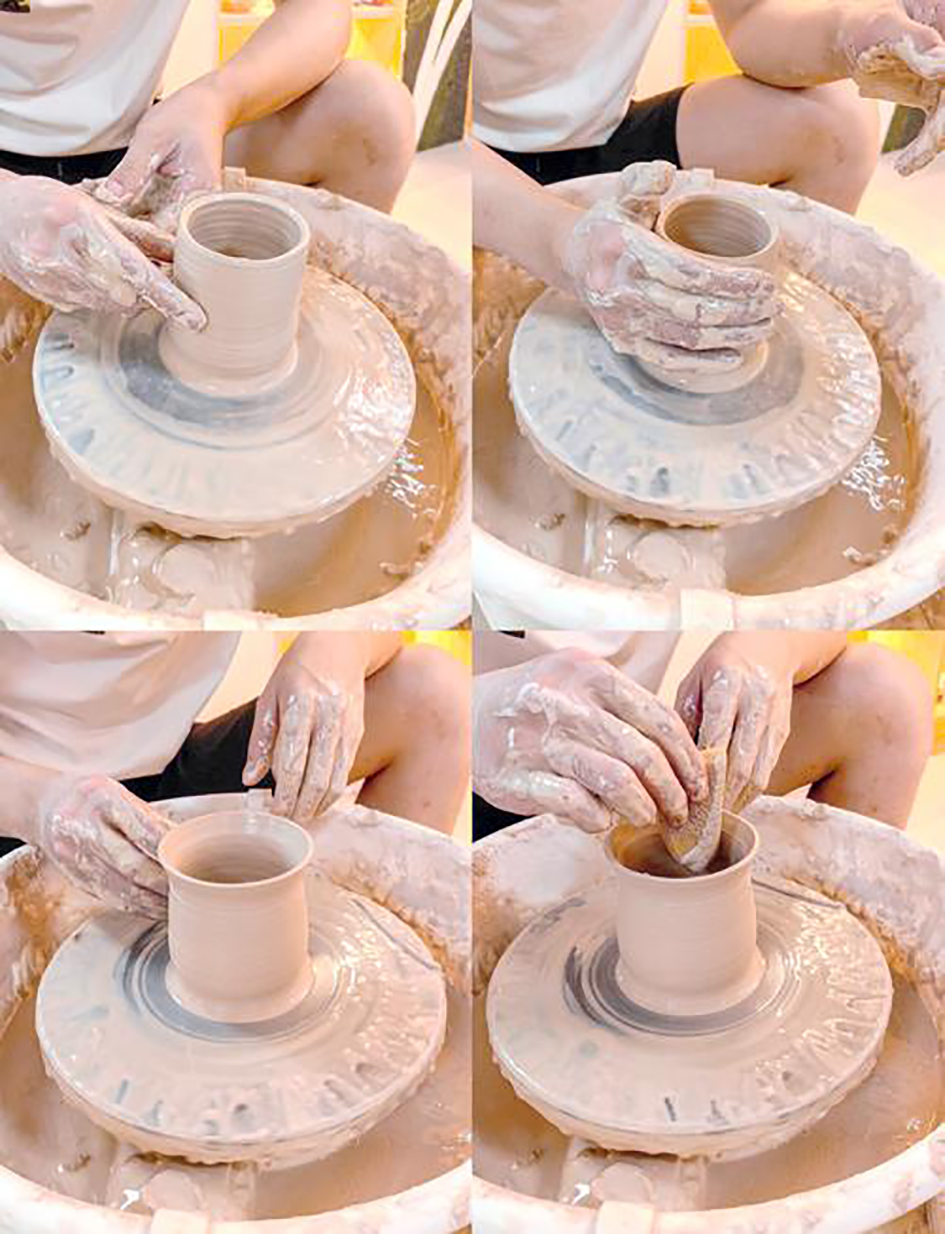
Wheel-Throwing: Wheel-throwing involves shaping the clay on a rotating wheel by manually stretching and pressing it. This method is ideal for making symmetrical and regular vessels, such as cups and plates. To begin, place the clay in the center of the spinning wheel and use both hands to gradually pull it upwards and shape it. It is important to keep your hands moist during the process to better control the clay's form.
Coil-Building: This method involves rolling the clay into long strips and stacking and joining these strips layer by layer to create complex shapes. Coil-building is suitable for large or irregularly shaped pottery, such as sculptures and vases. When working with this method, ensure that each layer of coils is tightly connected to maintain the overall stability.
Detail Handling: Regardless of the shaping method used, attention to detail is essential. For example, use tools to smooth the surface, remove excess clay, and trim. Meticulous work not only enhances the aesthetic appeal of the work but also ensures the smooth progress of subsequent processes.
III. Drying Stage


After shaping, the shaped work needs to be dried before it can be fired. The drying process requires patience and attention to avoid cracking due to uneven drying.
Natural Drying: Place the shaped work in a well-ventilated area to dry naturally. Avoid direct sunlight and strong winds to prevent surface cracking. The drying time depends on the size and thickness of the work, usually ranging from several hours to a day.
Artificial Drying: For larger or thicker pieces, artificial drying methods can be used, such as using a hairdryer or specialized drying equipment to speed up the process. However, it is important to control the temperature and airflow to avoid damaging the work.
Inspection and Repair: Regularly check the condition of the work during the drying process and address any issues promptly. For example, if small cracks appear, repair them before continuing to dry. You can also make preliminary repairs to the work, removing excess parts to perfect the shape.
IV. Decoration Stage

After drying, the work can be decorated to enhance its artistic value and visual appeal. Common decoration methods include carving, painting, and decal application.
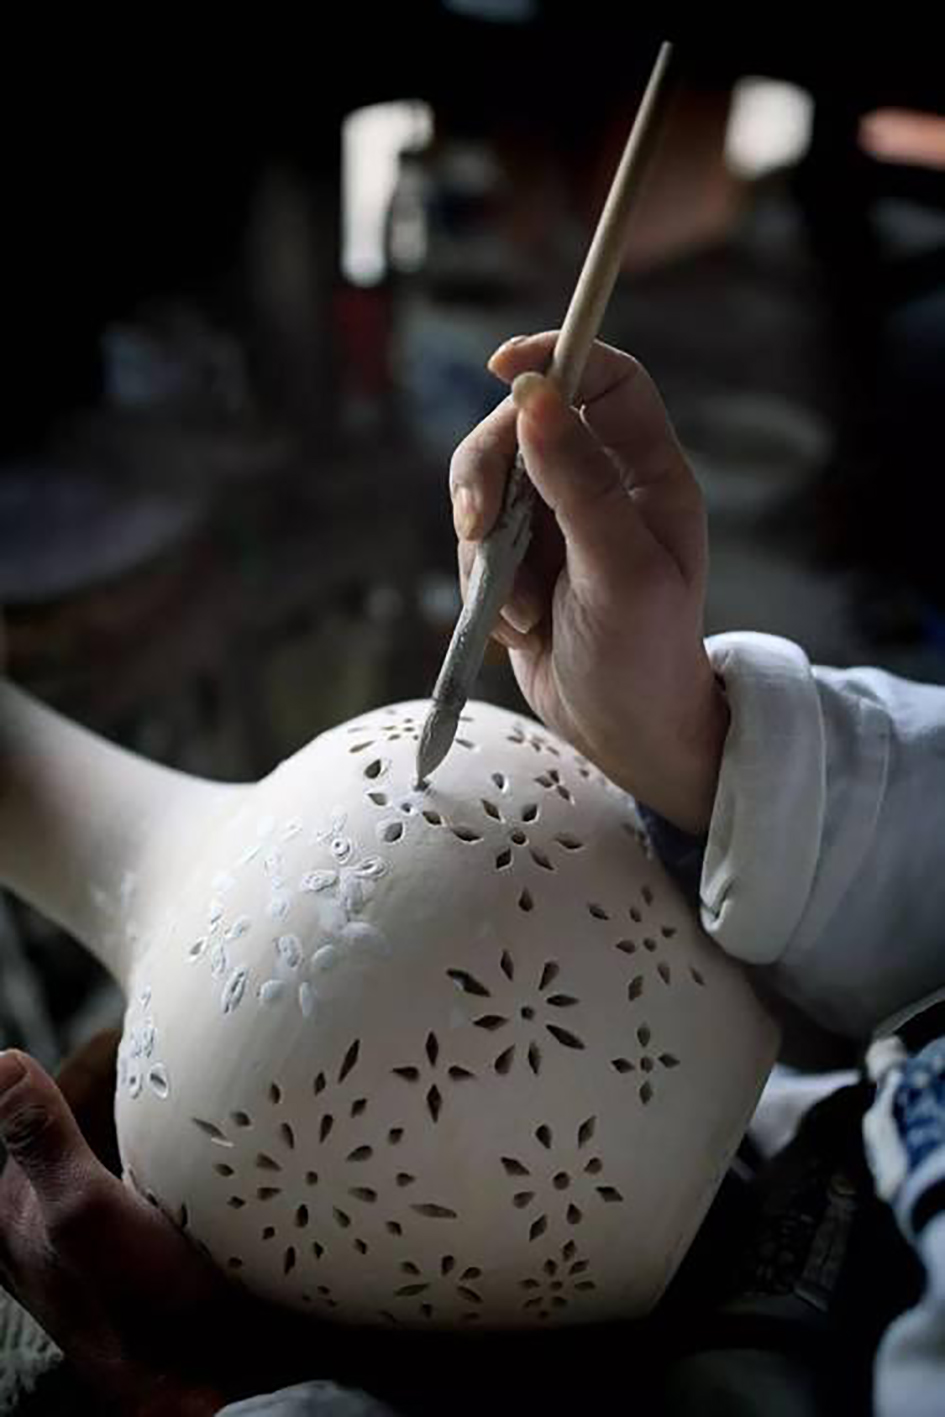
Carving: Use carving tools to etch various patterns and textures on the surface of the pottery, adding layers and a three-dimensional effect. When carving, pay attention to the force and depth applied to avoid compromising the structural integrity of the work.
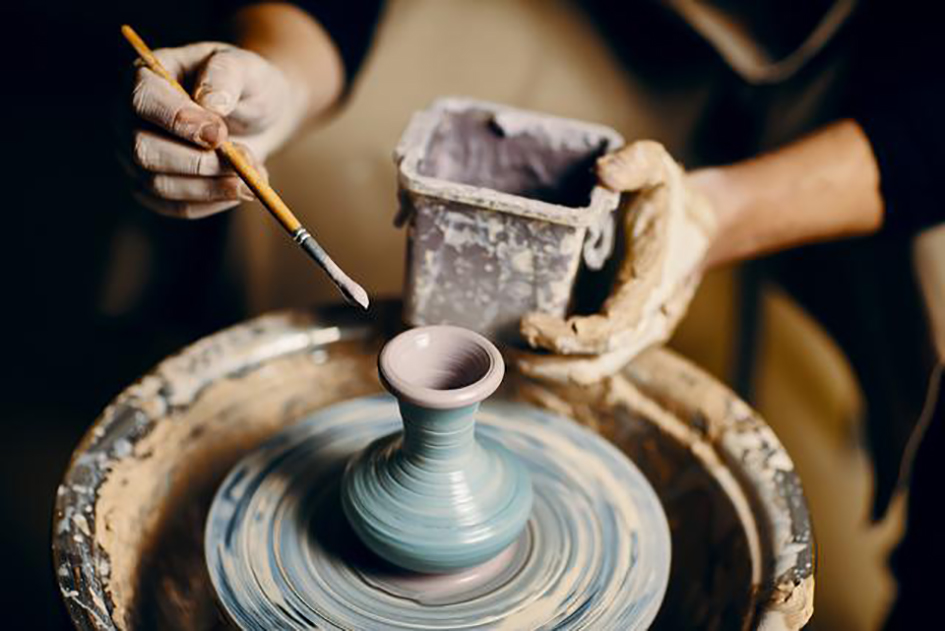
Painting: Use special ceramic pigments to paint various patterns and colors on the surface of the work. Painting not only enriches the color range but also expresses the artist's creative vision. It is important to note that the pigments used for painting must be heat-resistant to maintain their color during firing.
Decal Application: Apply pre-made ceramic decals to the surface of the work and they will bond firmly to it after high-temperature firing. Decals can greatly simplify the decoration process and achieve complex pattern effects.
Detail Handling in Decoration: When decorating, pay attention to the details to ensure that each decorative element harmonizes with the overall style. Additionally, combining different decoration techniques can create unique visual effects.
V. Firing and Glazing

After decoration, the work needs to be fired and glazed. This step determines the final appearance and durability of the piece.
Bisque Firing: Bisque firing refers to the initial firing of greenware in an electric or gas kiln at temperatures ranging from 700℃ to 1000℃, depending on the type of clay used. The purpose of bisque firing is to remove moisture and organic materials from the work, hardening it and giving it some strength.
Glazing: After bisque firing, the work needs to be glazed to enhance its gloss and waterproof properties. Glaze is a glassy coating that melts and covers the surface of the work at high temperatures. There are various glazing methods, including dipping, pouring, and spraying. Choose the appropriate method based on the shape and requirements of the work.
Gloss Firing: The glazed work is then fired again in the kiln at temperatures typically ranging from 1000℃ to 1300℃. The purpose of gloss firing is to melt the glaze and bond it tightly with the pottery body, forming a hard and waterproof surface. Different types of glaze and firing temperatures will produce different effects and can be adjusted according to specific needs.
Cooling and Inspection: After firing, allow the work to cool naturally in the kiln to avoid cracking due to sudden temperature changes. Once cooled, carefully inspect the work for any cracks or other defects. If necessary, further repairs or polishing can be done.
Conclusions
Through the introduction of these five basic steps, we can see that pottery is a highly comprehensive art form. Each step requires patience and meticulous attention to detail to produce beautiful and functional pottery. This guide is designed to help beginners get started and experience the joy and sense of achievement that pottery brings. If you have developed a strong interest in pottery, why not give it a try now? You are sure to discover even more joy and creative inspiration in the process.